Hartiwg (Monarch) Fuel Caps on a Ragwing
Posted: Thu Jul 12, 2007 6:52 pm
The following is from an email I received from association member Tom George. Tom was able to get a field approval for the Hartwig (formerly Monarch) fuel caps on his '48 ragwing. There are 10 photos, so this post is a bit lengthy.
==========================================
Doug
Sorry it took so long to get these pictures to you. This modification is really quite easy, and should be a big improvement over the original caps, and the new caps are also vented. Those old dished caps always hold water after a rain storm of foggy morning. Our old caps always leaked no matter what we did. The Hatwig cap adapter flange is raised slightly (about .090") in the center, which should alleviate water intrusion problems.
I worked with Butch Hartwig up in the Canandian office, but sent him some photos and now the US office may be aware of what's necessary for the modification. This was done on a one-time field approval.
Send me a note if you have any questions or call.
Tom George
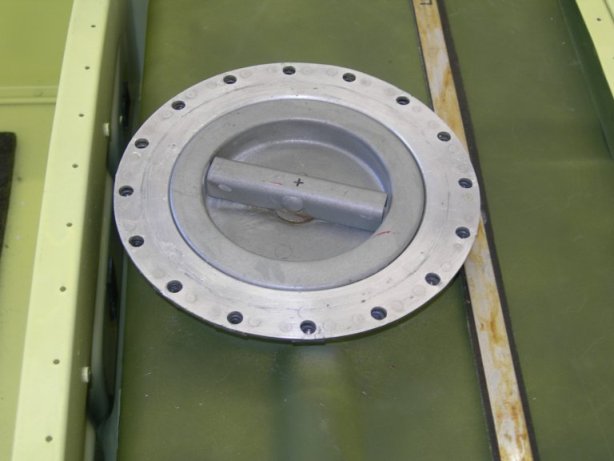
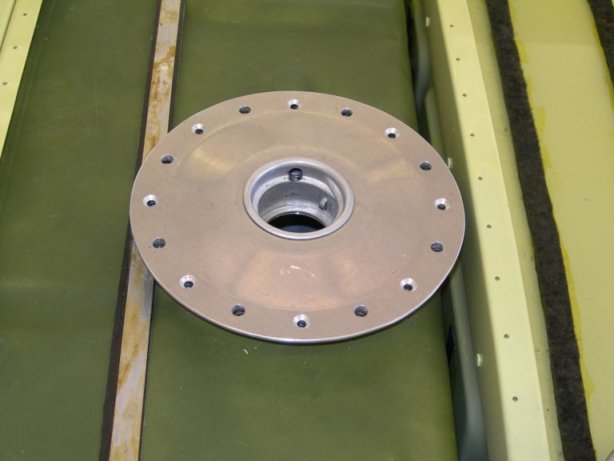
1. Original cap and fabric termination flange. If nutplates are not installed, then installation will be required as seen here. Used floating plates MS21059-L08.
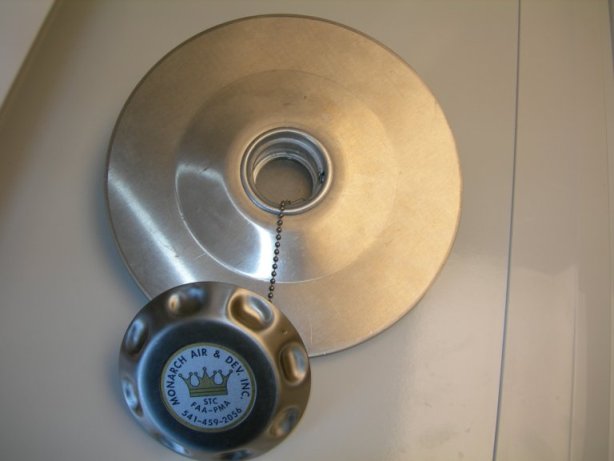
2. The tank adapter (Hartwig p/n FC0006) will need to be ordered undrilled as a blank. The cap is p/n FC002.
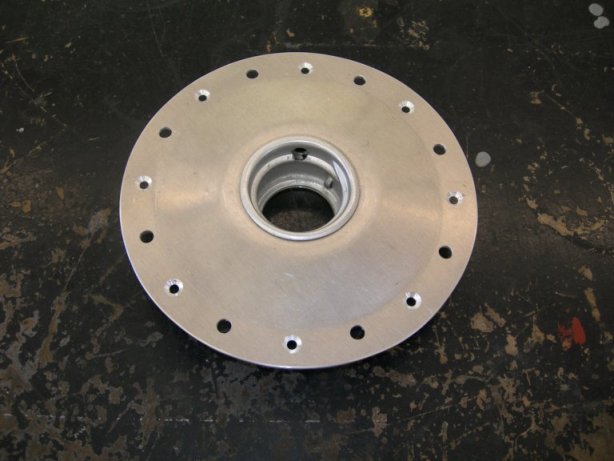
3. This is after trimming to fit the fabric termination flange. Requires approximately 1" to 1 1/2" to be removed in order to match the tank flange.
4. Unfortunately, the anti-siphon valve will have to removed.
The original tank inlet interferes with its operation. If you want to retain it, the tank will have to modified. This is never a favorite of the FAA.
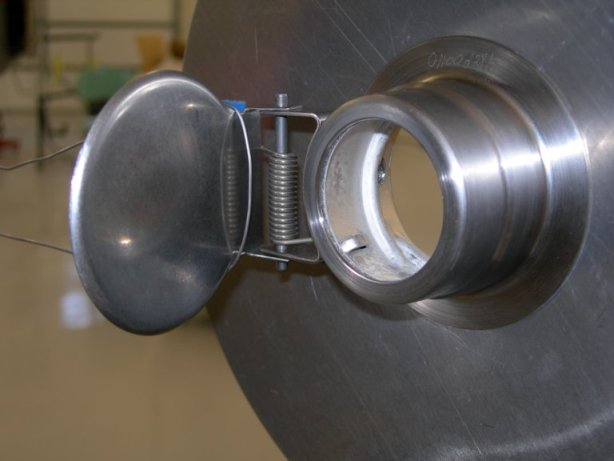
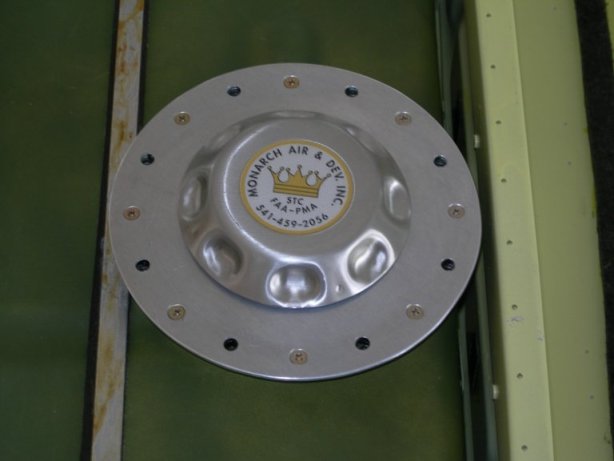
5. After installation on the tank. A small band of PRC1422 was appplied to the flange from the edge of the mounting holes to about 1/4" inside of the raised portion of the cap adapter. You can see the bend in the adapter plate, which installs just outside of the seat for the original cap. The hole in the back of the filler neck is there to allow the vented cap to perform properly. It also allows you to see if at least see part of your sealant bead after installation. A tank pressure test is required after installtion. (Be careful not to overpressurize the tank, it will ruin your day.)
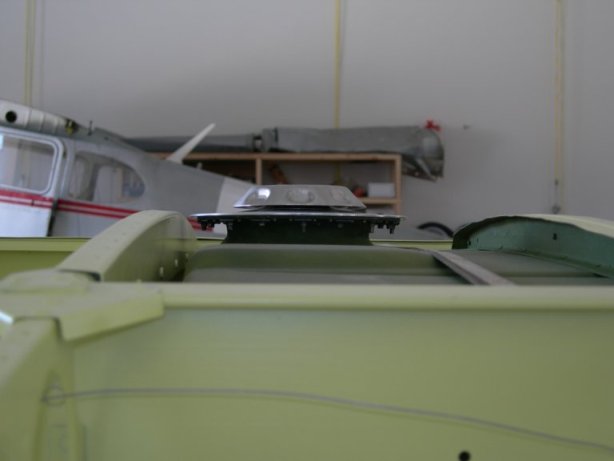
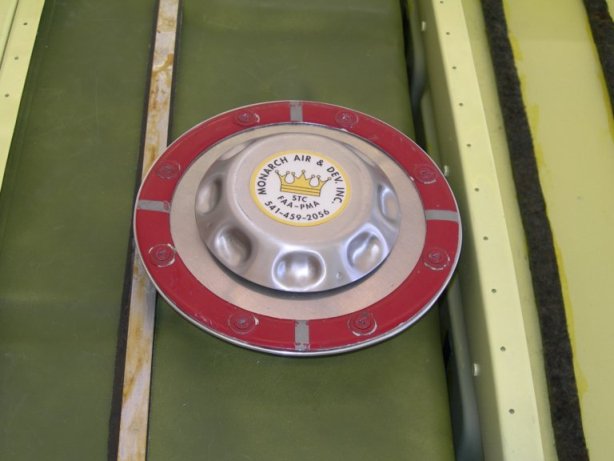
6. Tank installed.

7. Tank installed.
8. Tank installed.
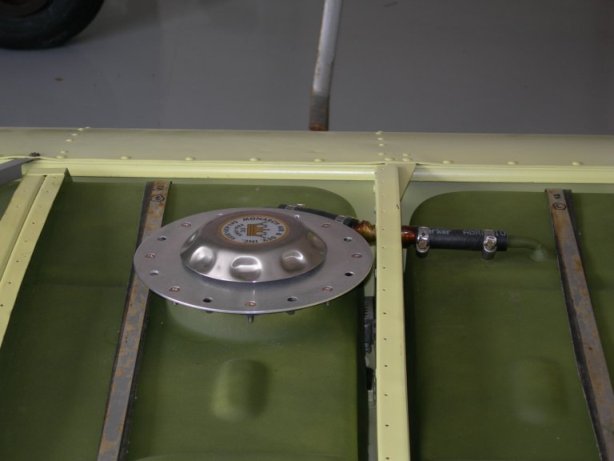
9. Tank installed.
10. Fabric termination plate installed.
==========================================
Doug
Sorry it took so long to get these pictures to you. This modification is really quite easy, and should be a big improvement over the original caps, and the new caps are also vented. Those old dished caps always hold water after a rain storm of foggy morning. Our old caps always leaked no matter what we did. The Hatwig cap adapter flange is raised slightly (about .090") in the center, which should alleviate water intrusion problems.
I worked with Butch Hartwig up in the Canandian office, but sent him some photos and now the US office may be aware of what's necessary for the modification. This was done on a one-time field approval.
Send me a note if you have any questions or call.
Tom George
1. Original cap and fabric termination flange. If nutplates are not installed, then installation will be required as seen here. Used floating plates MS21059-L08.
2. The tank adapter (Hartwig p/n FC0006) will need to be ordered undrilled as a blank. The cap is p/n FC002.
3. This is after trimming to fit the fabric termination flange. Requires approximately 1" to 1 1/2" to be removed in order to match the tank flange.
4. Unfortunately, the anti-siphon valve will have to removed.
The original tank inlet interferes with its operation. If you want to retain it, the tank will have to modified. This is never a favorite of the FAA.
5. After installation on the tank. A small band of PRC1422 was appplied to the flange from the edge of the mounting holes to about 1/4" inside of the raised portion of the cap adapter. You can see the bend in the adapter plate, which installs just outside of the seat for the original cap. The hole in the back of the filler neck is there to allow the vented cap to perform properly. It also allows you to see if at least see part of your sealant bead after installation. A tank pressure test is required after installtion. (Be careful not to overpressurize the tank, it will ruin your day.)
6. Tank installed.
7. Tank installed.
8. Tank installed.
9. Tank installed.
10. Fabric termination plate installed.